Your cart is currently empty!
In all honesty, installing a light fixture can be intimidating if you’ve never done it before. Many of us have spent half the day watching YouTube videos titled “how to install a light fixture” and triple-checking each wire connection, just to install one or two fixtures.
While we do our absolute best to simplify the installation process for our customers, we still find it helpful to provide a more detailed resource on the topic. Hence this blog! If lighting installation is stressing you out more than it should, this article was written with you in mind!
Safety First: Before You Start
This cannot be overstated–electricity is no joke! Before attempting any light fixture installation:
- Turn off the power at the breaker box (not just at the switch)
- Test the wires with a voltage tester to confirm the power has indeed been shut off
- Have a buddy nearby if possible
- Keep a flashlight handy if working in a dimly lit space
Note: If you skip the voltage testing step, you risk serious injury. Always confirm the power is off before working with any wiring to ensure your safety.
Please note: in the electrical and lighting industry there are many names that can (in general) refer to the same thing. An example would be that, for the average homeowner, an electrical box, bell box, junction box, and work box can mean the same thing even if there are nuanced differences between them, and we understand that. If you notice a term that is odd, or you’d just like some clarification, don’t hesitate to reach out to us, we’d be happy to try and help.
When to Call a Professional
While DIY installation is doable for most fixtures, there are times when calling an electrician makes sense:
- If you need to run new wiring When installing fixtures in wet locations (special code requirements most likely apply)
- If your home has aluminum wiring (can require special handling)
- When you’re just not comfortable working with electricity
We recommend that our fixtures are always installed by licensed electricians, but we understand that DIYers are always up for a home makeover on the weekend because we’re those people too.
Nevertheless, I’ve been working with lighting and electricity for years, and I still call in pros for certain jobs. There’s absolutely no shame in getting qualified help!
What You’ll Need
Most light fixture installations require basic tools you probably already have:
- Screwdriver (flathead and Phillips)
- Wire strippers/cutters
- Electrical tape
- Voltage tester
- Ladder or step stool
- The new fixture (obviously!)
- Wire nuts (most likely included with your fixture or already on the wires you’re going to connect to)
- Loctite or other threadlocker (optional)
Step-by-Step Installation Guide
Learning how to install a light fixture isn’t quantum physics. It’s a pretty straightforward process; let us walk you through:
1. Remove the Old Fixture
Start by removing any bulbs, shades, globes, or decorative elements from your old fixture. Then look for the screws or nuts holding the fixture base to the electrical box in the ceiling or wall. Once you’ve removed the screws or nuts, carefully lower the fixture to expose the wiring.
You’ll typically see three colors of wire connected to the old fixture:
- Black (called the hot wire)
- White (called the neutral wire)
- Bare copper or Green (the ground wire)
Disconnect these by unscrewing the wire nuts and gently pulling the wires apart.
2. Prepare Your New Fixture
If your new fixture is still in the box, take some time to unpack it and get it ready for installation. Unwrap everything and make sure you have all the parts listed in the corresponding installation instructions specific to your fixture.
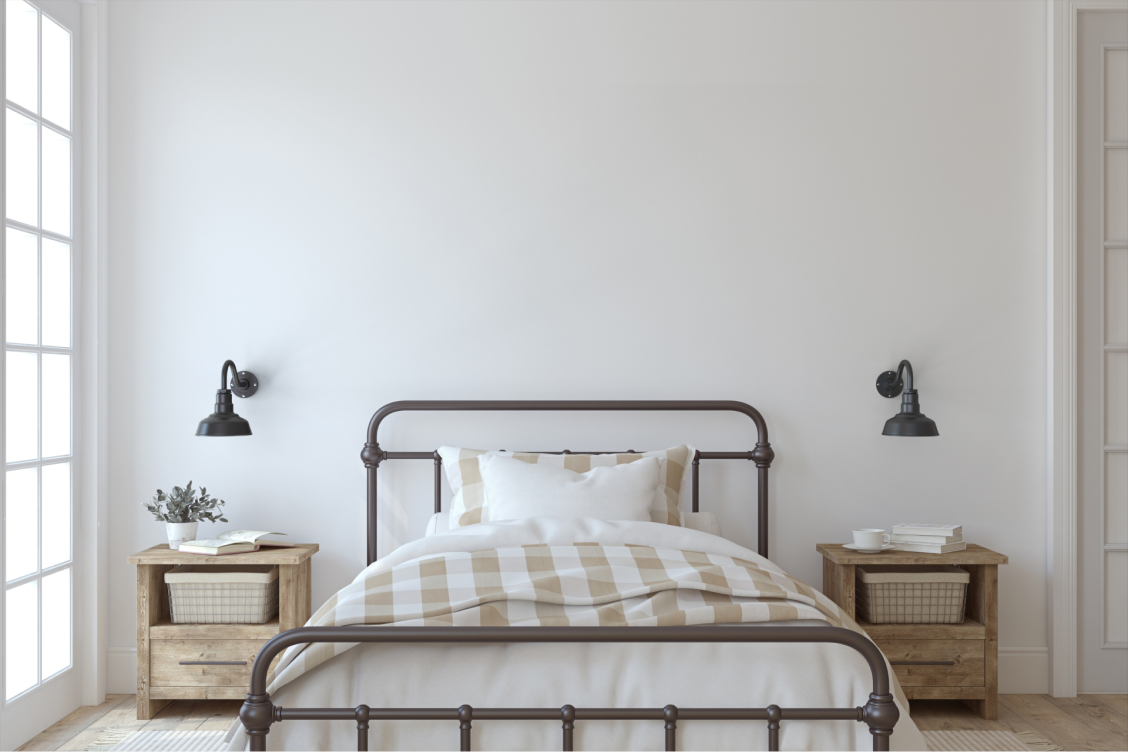
If you’ve purchased one of our pendant lights, like the Brentwood, for example, one critical step will be attaching the mounting bracket component of the ceiling canopy to the electrical box first before continuing with the installation.
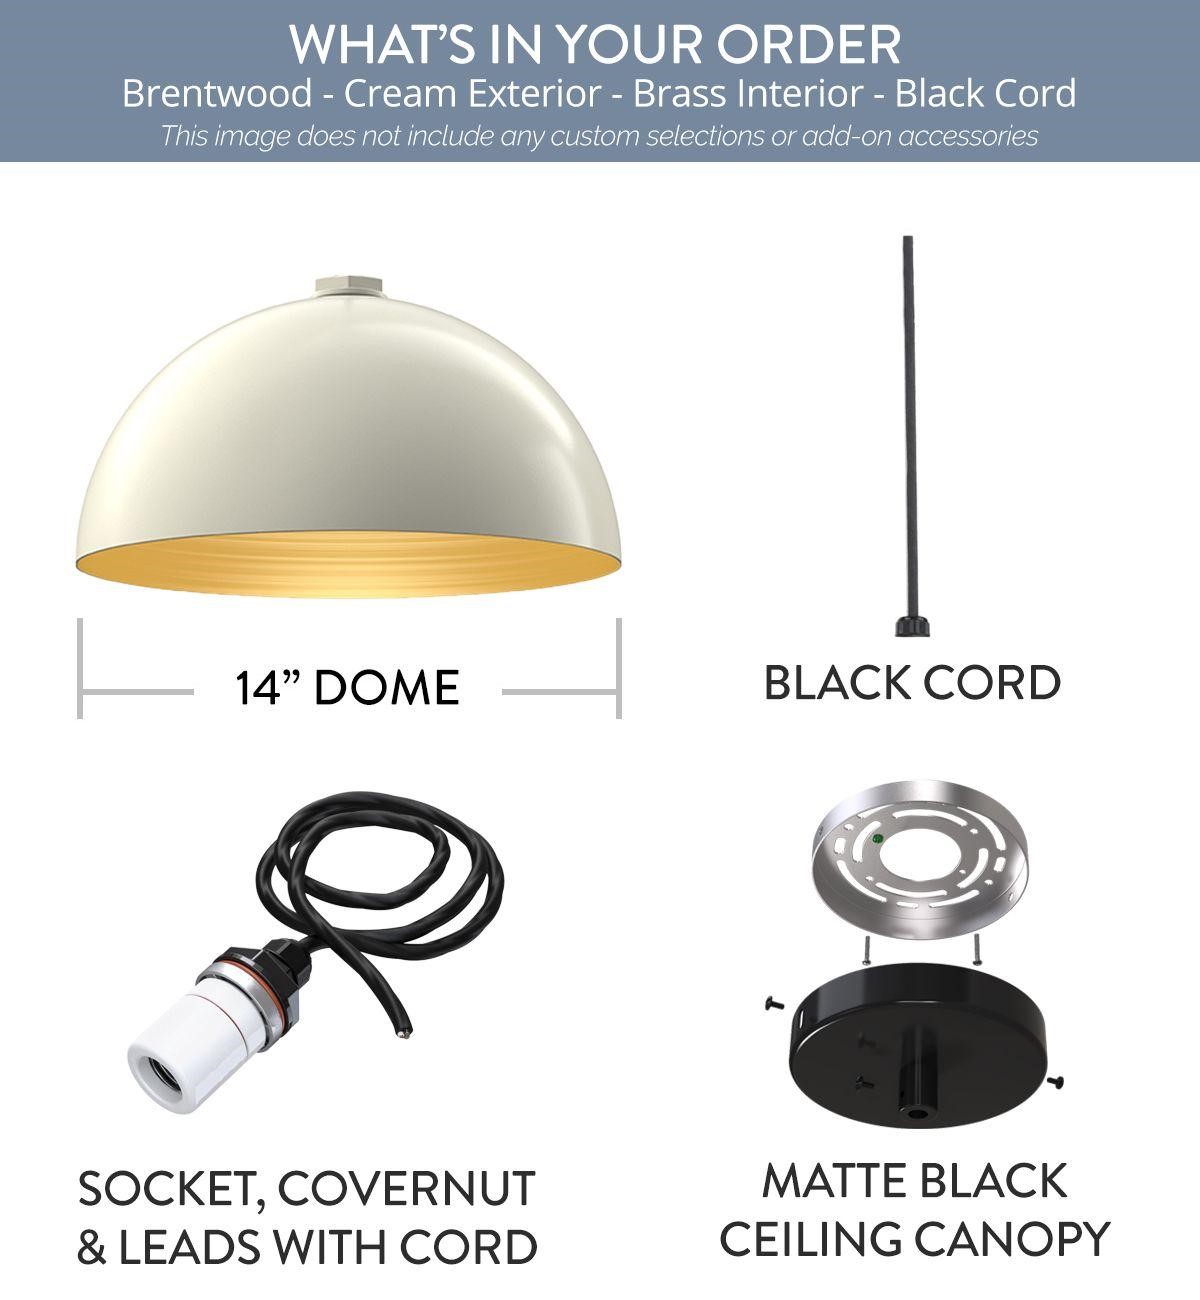
All of our fixtures come with wired sockets, however some assembly is still required, and we’ve made sure that our installation instructions speak directly to each category of fixture to help this assembly be as smooth as possible, just remember our covernut is threaded counter clockwise and thread lockers like loctite brand are always a good idea especially on goosenecks mounted in high-wind areas!
3. Connect the Wires
Before attempting to connect the wires, it is always beneficial to have the fixture itself resting on a ladder, scaffolding, or nearby surface to allow you to freely use both hands while doing the wiring.
This is where people get nervous, but it’s actually simple if you follow the color code:
- Connect black to black (the hot wires)
- Connect white to white (the neutral wires)
- Connect ground to ground (the green or bare copper wires)
For each connection:
- Hold the stripped ends of the wires side by side
- Twist them clockwise
- Secure with a wire nut by twisting it clockwise until tight
- Gently tug to make sure the connection is secure
4. Mount the Fixture
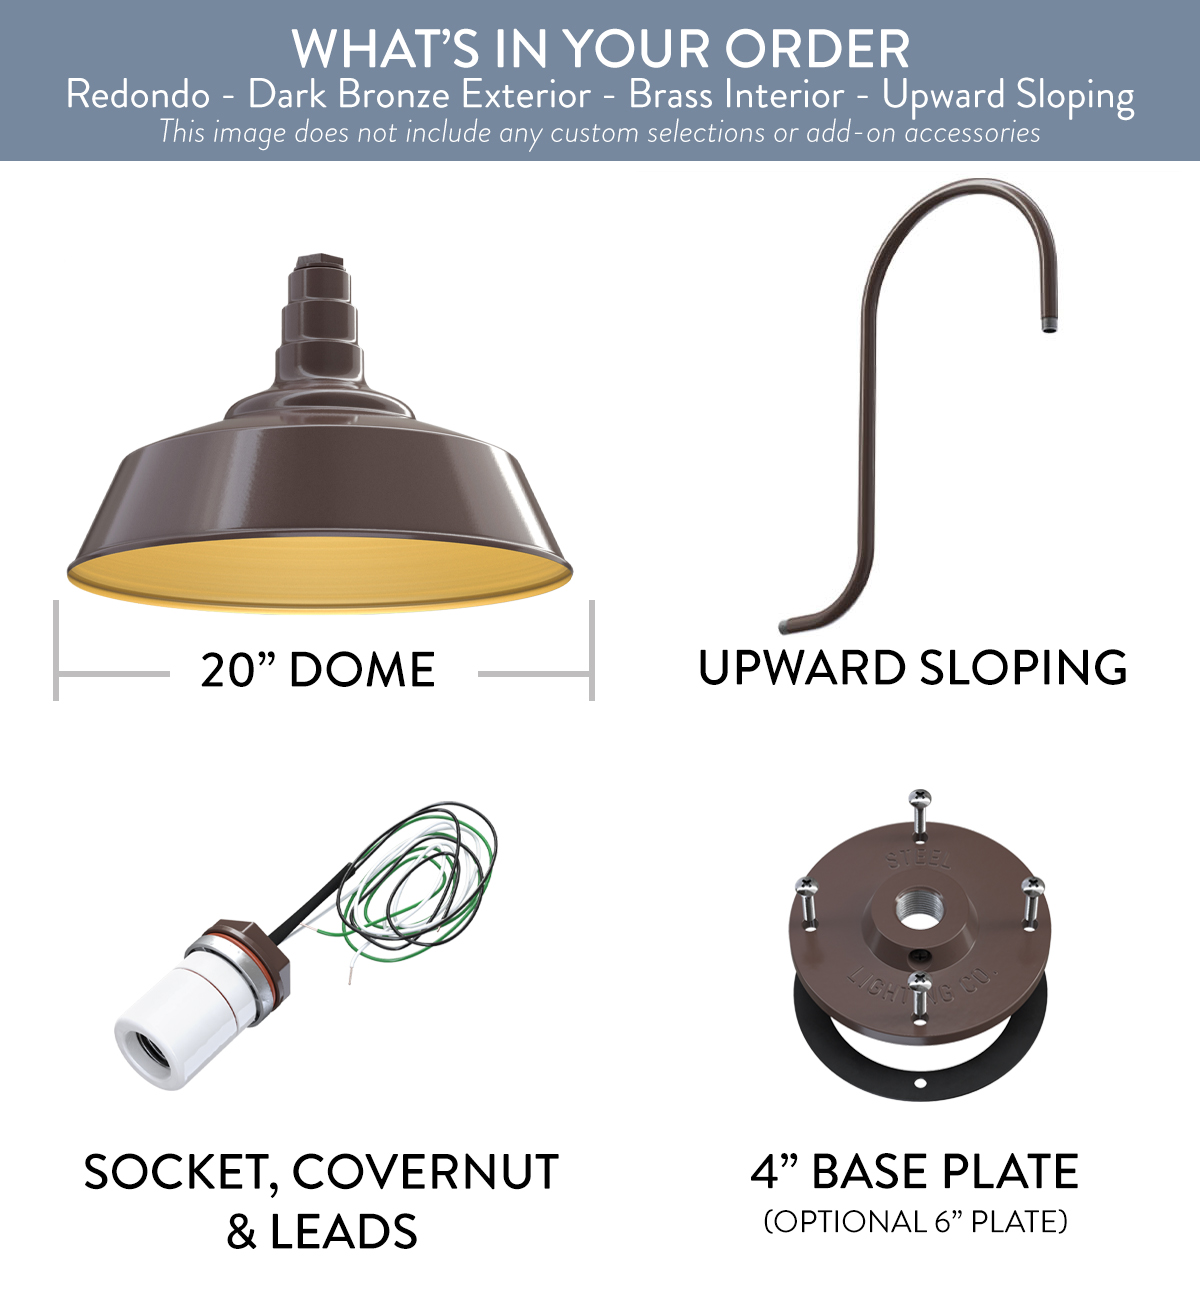
With the wires connected, carefully tuck them into the electrical box. This can sometimes be a bit of a challenge, especially with larger fixtures like our Redondo model. I find it helps to gently fold the wires rather than cramming them in.
Align the fixture’s mounting holes with the bracket and secure it using the provided screws. Most fixtures have either a mounting plate or a universal adapter that attaches to the electrical box first, and then the fixture attaches to that.
With our wall mounted fixtures you’ll want to assemble the whole fixture before connecting the wires and mounting it to the electrical box.
5. Add Finishing Touches
Once the fixture is secure, now is the time to screw in the light bulb (We always recommend LEDs for energy efficiency)
6. Test Your Work
Turn the power back on at the breaker box and switch on your new light. If it doesn’t work, turn the power off again before double-checking your wire connections.
7. Take pride in your achievement!
You just did what you set out to do and successfully replaced an old fixture or added a completely new light to brighten up your space! Our handcrafted steel fixtures are designed to last for years, so it’s worth taking the time to install them properly.
While we trust that you have now learnt how to install a light fixture, if you run into any issues during installation or have questions about which fixture might work best for your space, don’t hesitate to reach out to us. Our team has helped countless customers transform their homes with the perfect lighting, and we’d love to help you too.