Your cart is currently empty!
Installation
instructions
Wall Mount
Upgrading your lighting game? Here’s how to correctly
install our wall-mounted lights, regardless of the arm style.
Wall Mount
parts
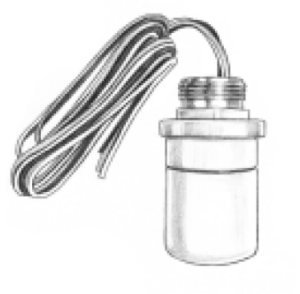
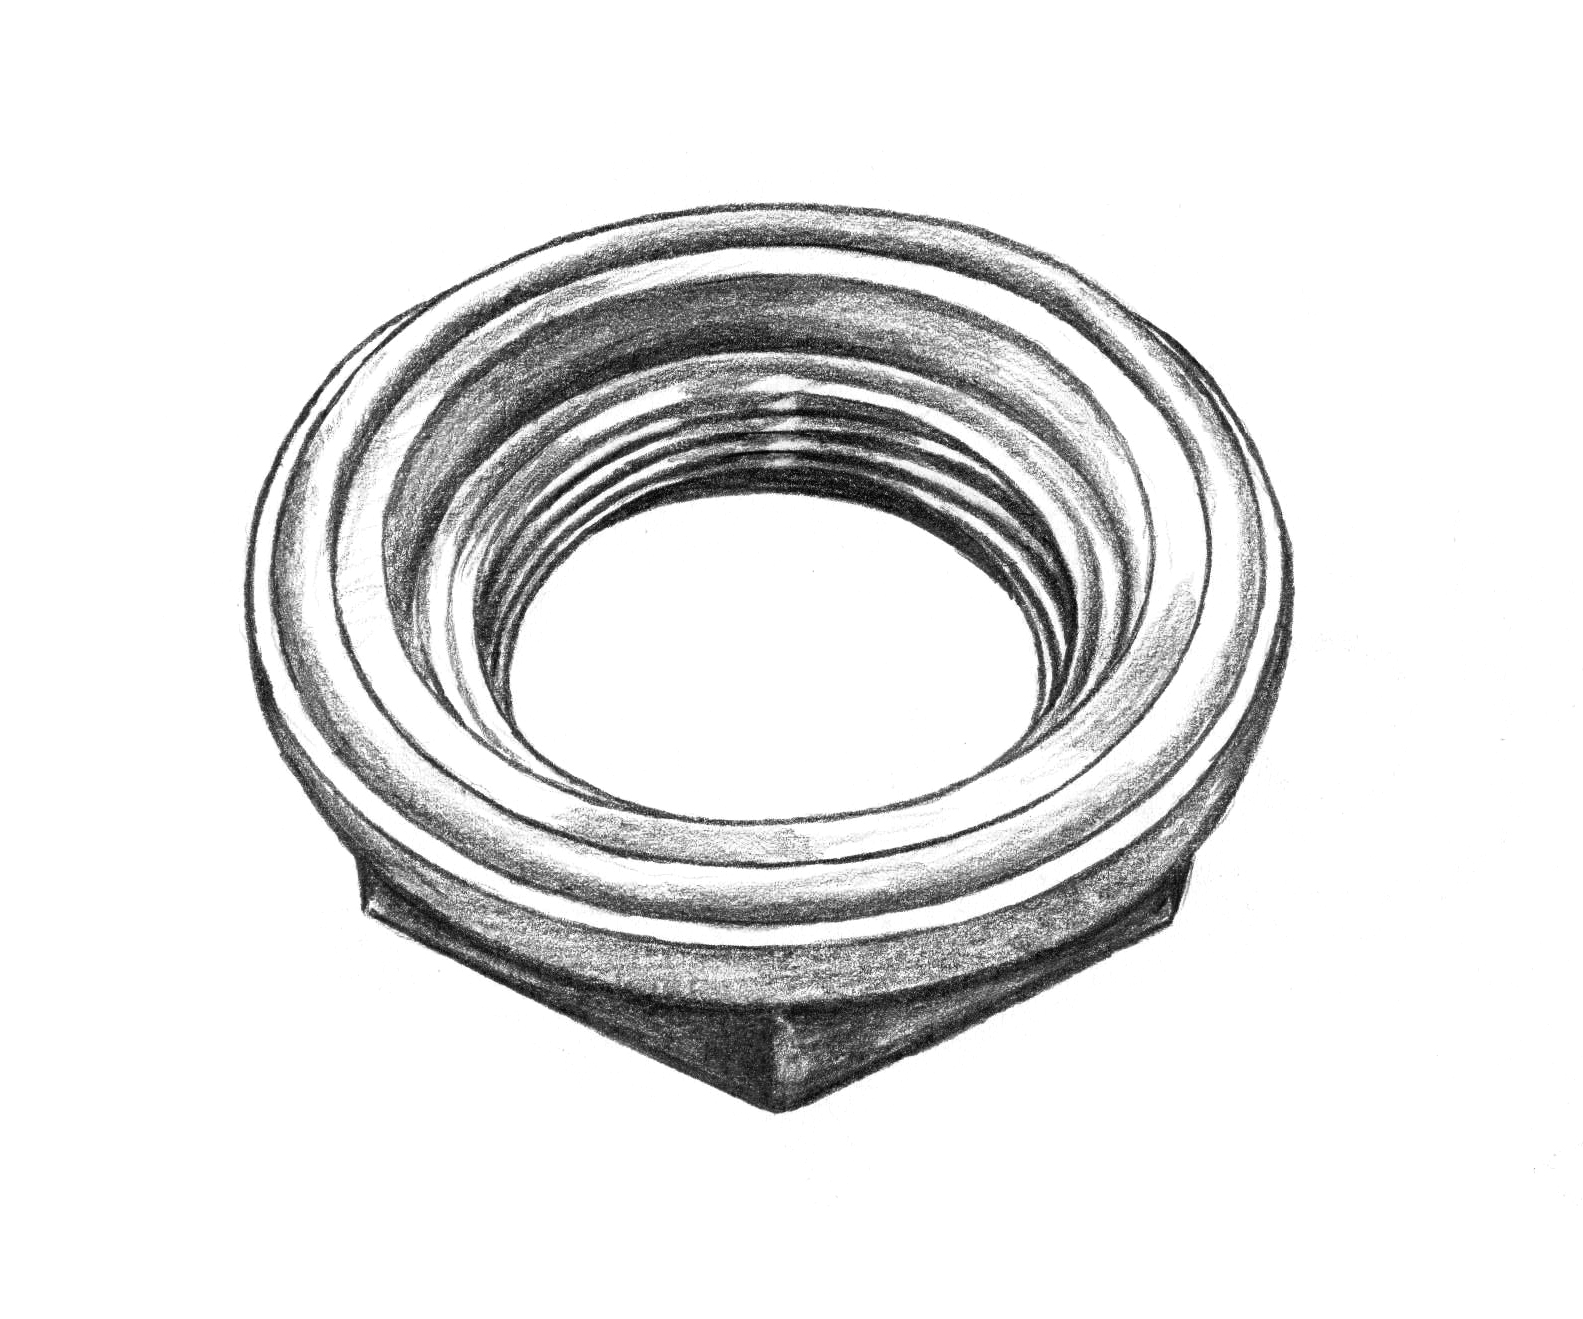
Covernut w/ Black gasket

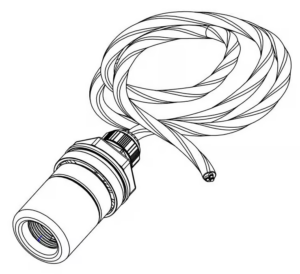
Socket
Lighting Shade
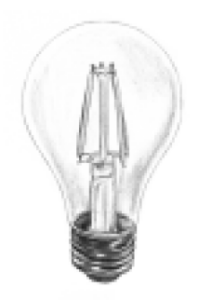
*Light Bulb
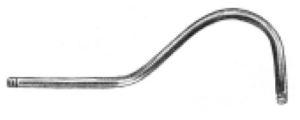
Arm
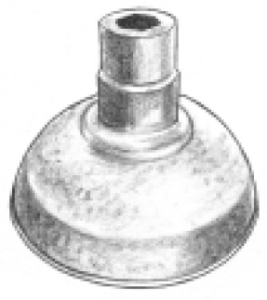
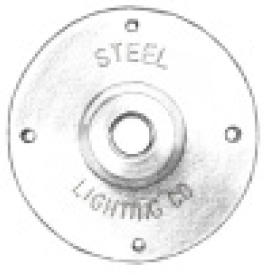
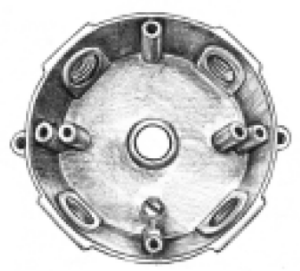
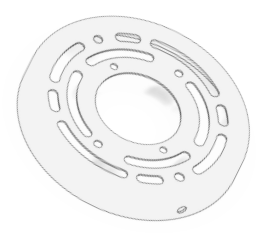
Mounting Plate
Black Gasket
*4″ Round Electrical Box
step 1

Steel Lighting Co Assembly and Installation
STEP I: Ensure the Black Gasket is firmly set into the wedge on the bottom of the Covernut.
Unravel the wires from the Socket and pull them through the inside of the Lighting Shade.
Slide the Covernut over the wires and REVERSE THREAD the Covernut onto the top of the Socket.
The Socket should be secure in the Lighting Shade and the wires should be coming out of the top.
Please Note: the Black Gasket (also referred to as an o-ring) that is designed to work with our covernut was previously orange. You may see in installation videos or even in pictures of our lights that the gasket/o-ring is orange, however–as stated–they are now black in color.
Need more information?
step 2
STEP II: Thread the Arm into the round Mounting Plate. Then feed the wires from the Lighting Shade through the Arm and out through the Mounting Plate.
Thread the Arm and the Lighting Shade to complete Assembly!
Installation of Lighting Fixture
This lighting fixture includes a 4” round Mounting Plate. We recommend a 4” Round Electrical Box to match our Mounting Plate. If our Mounting Plate does not fit, please consult your electrician for alternative mounting options for 1/2” threaded rigid pipe.
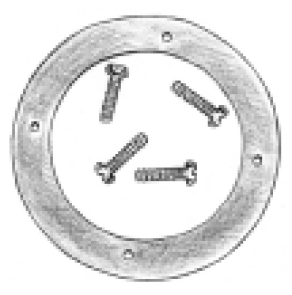
Use the Black Gasket between the back of the Mounting Plate and your 4” Round Electrical Box. Make wire connection and complete installation by using the (4) included screws.
We suggest starting to thread the set screw into the Mounting Plate with a small flat head screwdriver (ideally 1/8″) before installation and later tightening it fully after the fixture is mounted for ease of install.
Cord Pendant
Hanging a new light around your house, shed or barn?
Here, you can find everything you need to know on how to do it properly.
Cord Pendant
parts
Covernut w/ Black gasget
Socket
Lighting Shade
*Light Bulb
Ceiling Canopy
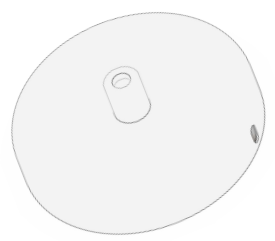
Universal Rotating Canopy
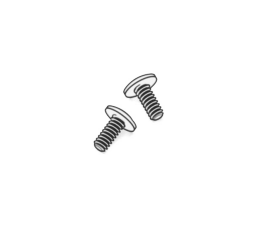
Small Screws
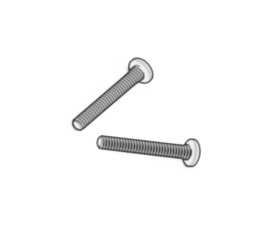
Large Screws
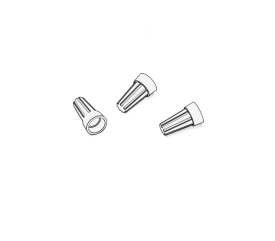
Wire Nuts
step 1
Steel Lighting Co Assembly and Installation

STEP I: Ensure the Black Gasket is firmly set into the wedge on the bottom of the Covernut. Thread the cord from the Socket through the inside of the Lighting shade, so that the Socket is in the neck of the fixture and the cord is coming out of the top. Slide the Covernut over the cord and REVERSE THREAD the Covernut onto the top of the Socket. The Socket should be secure in the lighting Shade and the cord should be coming out the top.
Please Note: the Black Gasket (also referred to as an o-ring) that is designed to work with our covernut was previously orange. You may see in installation videos or even in pictures of our lights that the gasket/o-ring is orange, however–as stated–they are now black in color.
Need more information?
step 2
STEP II:Determine the desired length of the cord on the socket & cut accordingly. Allow 2”-3” of extra cord for wiring connection. Standard length cord is 4 feet long. Strip 1/2” of cord which will expose the (3) Wire leads (Black, White, and Green). Strip the (3) wire leads exposing the copper wire for wiring connections.
step 3
STEP III: Slide the cord through the center hole of the Ceiling Canopy with the wire leads going through first.
step 4
STEP IV: Mount the Universal Rotating Canopy mount to your junction box with the 2 silver screws provided.
step 5
STEP V: Hardwire the (3) wire leads to the power source with the (3) Orange Wire Nuts provided
step 6
STEP VI: Mount the Ceiling Canopy right on top of Universal Rotating Canopy with the two small black screws provided on the side of the Ceiling Canopy.
step 7
STEP VII: Tighten the Small Set screws that is located on the side of the center hole to secure the cord in place.
Stem Pendant
Rocking the stem mount? Good choice.
Here’s some help on how to hang it the right way.
Stem Pendant
parts
Covernut w/ Black gasget
Socket
Lighting Shade
*Light Bulb
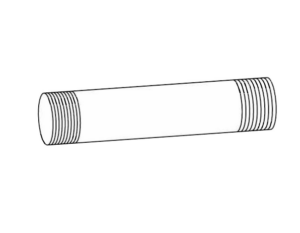
Rigid Pipe 6″-12″
Mounting Plate
Black Gasket
*4″ Round Electrical Box
step 1
Steel Lighting Co Assembly and Installation
STEP I: Ensure the Black Gasket is firmly set into the wedge on the bottom of the Covernut. Unravel the wires from the Socket and pull them through the inside of the Lighting Shade. Slide the Covernut over the wires and REVERSE THREAD the Covernut onto the top of the Socket. The Socket should be secure in the lighting Shade and the cord should be coming out the top.
Please Note: the Black Gasket (also referred to as an o-ring) that is designed to work with our covernut was previously orange. You may see in installation videos or even in pictures of our lights that the gasket/o-ring is orange, however–as stated–they are now black in color.
Need more information?
step 2
STEP II: Thread the Stem into the round Mounting Plate. Then feed the wires from the Lighting Shade through the Stem and out through the Mounting Plate.
Thread the Stem and the Lighting Shade to complete Assembly!
Installation of Lighting Fixture
This lighting fixture includes a 4″ round Mounting Plate. We recommend a 4″ Round Electrical Box to match our Mounting Plate. If our Mounting Plate does not fit, please consult your electrician for alternative mounting options for 1/2″ threaded rigid pipe.
Use the Black Gasket between the back of the Mounting Plate and your 4″ Round Electrical Box.
Make wire connection and complete installation by using the (4) included screws.
Flush Mount Pendant
Making a modest statement with our flush-mounted lights?
Here’s how to do it in style… and also, properly.
Flush Mount Pendant
parts
Covernut w/ Black gasget
Socket
Lighting Shade
*Light Bulb
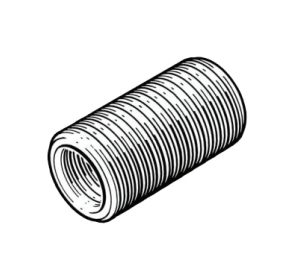
1/2″ Close Nipple
Mounting Plate
Black Gasket
*4″ Round Electrical Box
step 1
Steel Lighting Co Assembly and Installation
STEP I: Ensure the Black Gasket is firmly set into the wedge on the bottom of the Covernut.
Unravel the wires from the Socket and pull them through the inside of the Lighting Shade.
Slide the Covernut over the wires and REVERSE THREAD the Covernut onto the top of the Socket.
The Socket should be secure in the Lighting Shade and the wires should be coming out of the top.
Please Note: the Black Gasket (also referred to as an o-ring) that is designed to work with our covernut was previously orange. You may see in installation videos or even in pictures of our lights that the gasket/o-ring is orange, however–as stated–they are now black in color.
Need more information?
step 2
STEP II: Thread the Close Nipple into the round Mounting Plate. Then feed the wires from the Lighting Shade through the Close Nipple and out through the Mounting Plate
Thread the Close Nipple and the Lighting Shade to complete Assembly!
Installation of Lighting Fixture
This lighting fixture includes a 4” round Mounting Plate. We recommend a 4” Round Electrical Box to match our Mounting Plate. If our Mounting Plate does not fit, please consult your electrician for alternative mounting options for 1/2” threaded rigid pipe.
Use the Black Gasket between the back of the Mounting Plate and your 4” Round Electrical Box. Make wire connection and complete installation by using the (4) included screws.
Additional Guides
Additional Guides
Choosing the correct light bulb
Motion Sensor Installation

")
Dusk to Dawn
Dusk To Dawn
Installing Dusk to Dawn Sensors
Please note: the video mentions that the dusk to dawn sensor is already installed in the baseplate, however–in order to better protect the sensor during transit–we now ship the baseplate and sensor together, but not already installed as shown in the video.