A high-quality kitchen is unrivaled. It calls to mind warmth, beauty, delight, and undiluted joy. Whether you are in the photography business, a real estate merchant, or simply want to take gorgeous pictures of your kitchen, you will find this article resourceful and handy.
Use these tips to take the Best Kitchen Images
Taking great pictures of your kitchen or anywhere else goes beyond clicking your camera. It entails certain technical and not-so-technical know-hows to generate “aww-worthy” and eye-filling pictures. Adopt these photography tips and make professionals green with envy.
- Set the Stage
It is easy to think that kitchen photography doesn’t necessitate props. But here’s the thing, no matter how beautiful or grand your kitchen is, you need to create a backdrop that accentuates and highlights the appeal of your kitchen. You should also work with a clean and clutter-free background for good measure. Stage such a homely and comely stage that triggers approval, appreciation, and admiration in the heart and eyes of your viewers.
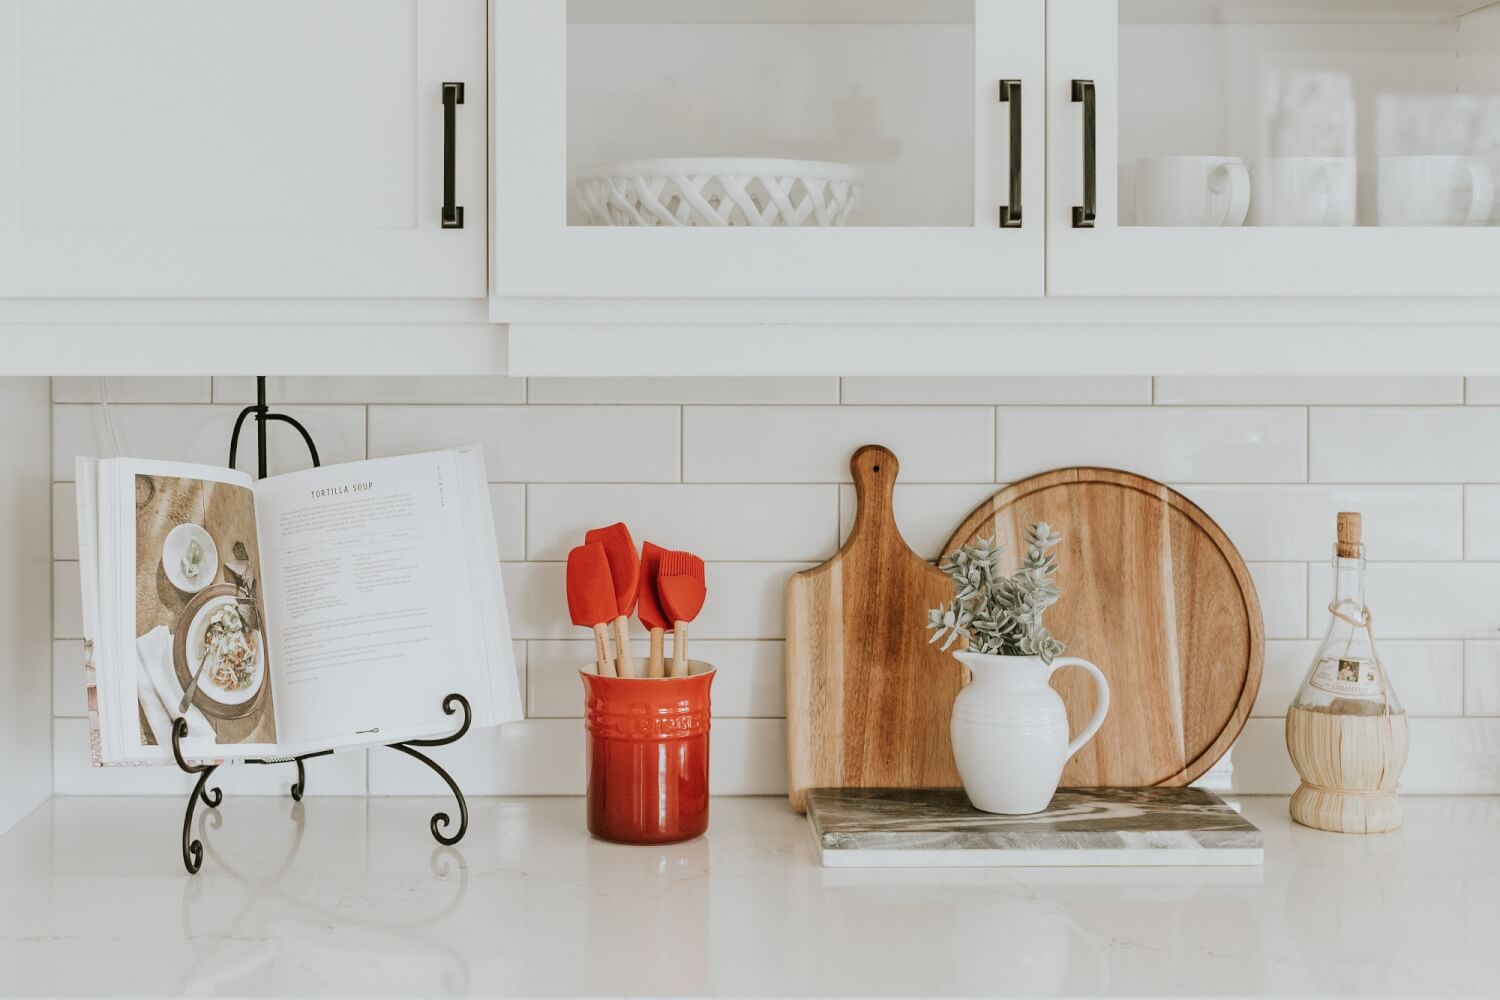
For starters, you can use easy-to-access props like charcuterie boards (replete with an assortment of colorful fruits and appetizing snacks), fruit bowls, and charming kitchen utensils. You don’t even have to go all out; a slice of bread on a cutting board can make all the difference to your otherwise banal kitchen counter. Explore fresh flowers that add a refreshing and delightful touch to the kitchen. Whatever props you decide to use, be careful not to go the extra mile. The last thing you want is an overwhelming image with distracting and inept objects.
- Say Yes to Editing
A flawless kitchen image is hard to generate without the right editing tools. Even professional photographers rely on the power of editing apps to fine-tune and polish their images. So if you want to make picture-perfect images of your kitchen, you need editing tools or apps. Photo editing tools add finishing touches to your image; they correct elements that are easily overlooked such as white balance, lighting, and shadows
But immaculate editing is no walk a park; it demands time, effort, and razor-sharp focus. Nonetheless, it is worth a thousand beautiful pictures. A photo editor like Lightroom (Snapseed on mobile) is especially great at achieving proper color balance. If you are finding it difficult to get the hang of editing tools or don’t have the time and patience required for the task, feel free to enlist professional help.
- Angle is Everything and More
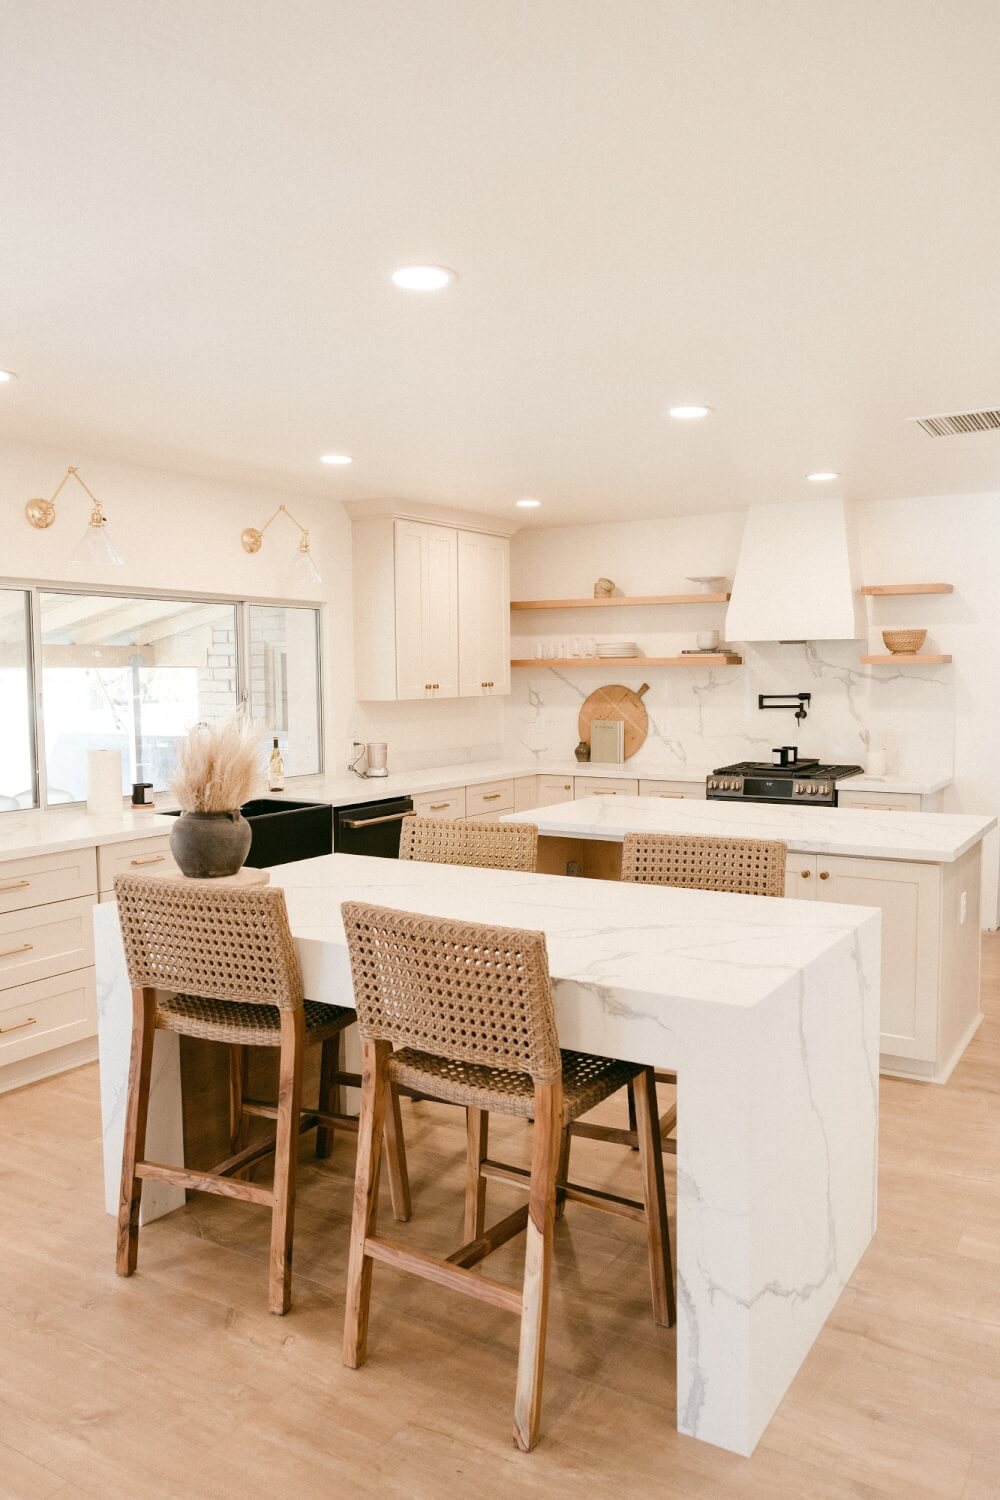
When it comes to taking kitchen images, it is imperative to get and use the right angles. A good angle lends proper perspective to the entire kitchen, which will reflect positively on even the most discerning eyes. Viewers or buyers want to see your kitchen in all its beauty, as such; you need to deploy all the necessary angles to capture your image in the best light.
Shoot horizontally from the kitchen island for a much-needed perspective. Also, factor in photography composition. Avoid tilting the camera (either up or down). Doing otherwise will disrupt the lines in the frame and throw your picture off balance. Set the camera as straight as you can manage to prevent titling. Lastly, keep in mind that horizontal photographs give the perfect view of your kitchen.
- Focus on one Specific Detail
It might be tempting to show off the grandeur of your kitchen in its entirety, but you will get better results if you zero in on one specific point of interest. As opposed to taking the full landscape, target a particularly appealing and exciting detail in your kitchen and take a close-up image. You know what ticks in your kitchen, so get as creative as possible.
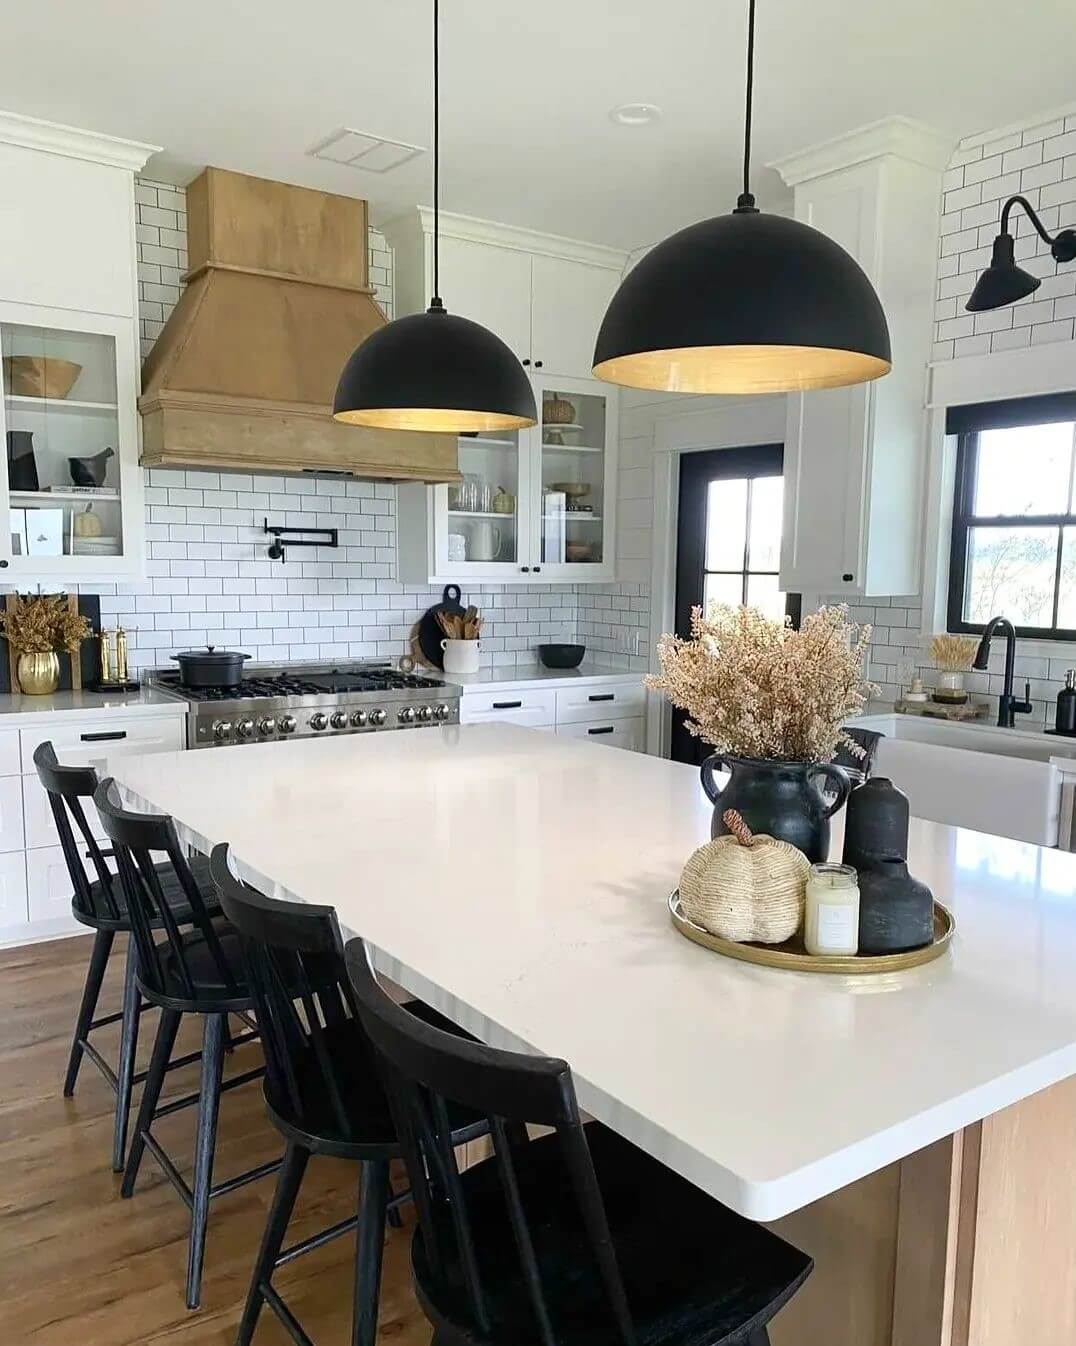
Features such as a vintage barn light, a farmhouse sink, table cloths, centerpieces, and draperies make exciting photo interests. Kitchen islands are also fun and intriguing to photograph. Don’t neglect your cabinets as you may find the most adorable, photo-worthy pieces in there. Capture your lazy susan, rollouts, spice stand, and the like.
- Incorporate Perfect Lighting
Just like all types of photography, kitchen images require the best lighting. Start by shooting at the right time of the day. One rule of thumb is to shoot when the sun is still bright and shiny. You will be doing your kitchen a great disservice if you shoot at night. Photographing during the day maximizes natural light, which enhances image quality. So draw the windows and blinds and get to work!
If the natural light isn’t sufficient, switch on the overhead lights in the kitchen. However, doing so might affect the white balance of the images (but can be easily corrected with editing). Bear in mind that shooting during the day means the kitchen windows will get all the attention (they tend to be brighter than the rest of the room). Hence, you need to fix this defect. The good thing is, you can use bracketed exposures from good software to blend the brightness and ensure a balanced exposure.
Quick Technical Tips to Enhance Kitchen Image Quality
- Leverage good-quality lighting equipment to make the most of your kitchen images
- Select a camera mode. The aperture priority mode is especially recommended for kitchen photography
- Use correct aperture settings; for kitchen images, the aperture and depth of field are typically set to F∕4 or F∕2.8.
- Shoot with proper lenses and avoid wide-angle lenses. A standard universal lens is great for kitchen photography.
- Adjust ISO settings to get excellent pictures. Set the ISO higher when brightness is lacking. Avoid higher-than-usual settings to prevent noise.
- Do not shoot with a shutter speed slower than 1∕50 seconds. It is best to maintain a shutter speed of 1∕60. Adjust ISO and aperture before setting the shutter speed.
- Employ a Tripod to avoid blurriness and unwanted shaking.
- View the resultant image on a large screen before processing to check clarity, quality, and errors.
- Photograph images in landscape mode
- Your images should be at least 1920 × 1080px in size
- Take pictures at different heights and not just at eye level for a better perspective
The Takeaway
All it takes to take high-quality and appealing pictures of your kitchen is to follow these tips. Leverage props for the ultimate wow effect. Edit your pictures like a pro or hire the services of a professional editor. Get good show-stopping angles and remember to photograph horizontally. Maximize natural lighting and capture specific details. As a rule, your kitchen has to look the part before photography can come into the picture. One way to ensure this is to get good-quality and premium light fixtures. And at steellightingco.com , we have an irresistible selection that promises to take your kitchen from zero to a hundred!